
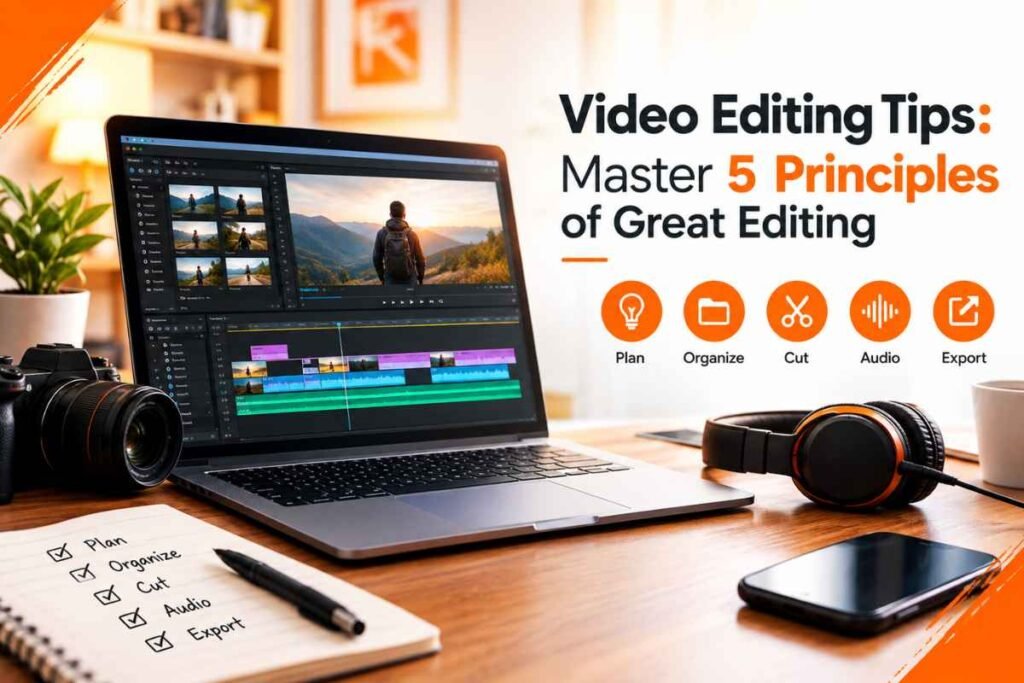
Good video editing isn’t a longer list of techniques it’s fewer decisions, made more deliberately. Most guides pile on fifty tips and expect you to remember all of them. In three years of cutting client work, YouTube content, and short-form video, I’ve found that almost every editing problem traces back to one of five things.
The story wasn’t planned before shooting. The footage was never organized. The cuts weren’t made with intent. The audio was treated as an afterthought. Or the export didn’t match the platform.
Fix those five, and most “advanced” techniques people obsess over become almost unnecessary. This guide walks through all five in depth, answering the questions editors actually search for.
Because every editing decision becomes harder when you don’t already know what the video is supposed to say. Editors who skip planning end up making structural decisions what to keep, what to cut, where the story turns while staring at a timeline full of footage, under time pressure, trying to remember why they filmed a particular shot in the first place. That’s the slowest and most stressful way to edit.
A rough shot list even three or four bullet points scribbled before you pick up the camera changes this completely. It tells you exactly what footage you need, so you stop hunting through hours of clips hoping something usable turns up. More importantly, it forces you to decide the video’s core message before you start shooting, so every clip you capture is already working toward that message instead of being justified after the fact.
The hook the first three seconds that decide whether someone keeps watching should be part of that plan too, not something you figure out in the edit when it’s too late to reshoot.
Try this: Before your next shoot, write one sentence answering “what does this video need the viewer to feel or know by the end?” Then list the 3-5 shots that get you there.
The real answer isn’t “use folders” it’s building a system you’ll actually follow under deadline pressure. Most editors know they should organize footage; almost none do it consistently, because the payoff feels distant while the tedium is immediate.
What works in practice is separating footage by function rather than just date or camera. Wide shots, close-ups, and B-roll belong in different bins because you’ll reach for them differently during the edit. B-roll gets pulled constantly to cover cuts, while primary coverage gets touched far less often.
Clip names matter more than people expect too. Scene1_Wide_Take2 tells you everything in two seconds, while IMG_4821.mp4 tells you nothing and forces you to open the clip just to remember what’s in it. On a longer project, that difference adds up to hours.
Once footage is organized this way, building your timeline in separate layers for video, B-roll, audio, and titles keeps everything from overlapping by accident once a project grows past a few dozen clips.
The honest answer is timing relative to motion, not the type of cut itself. When you cut mid-movement a hand reaching for something, a door swinging shut the viewer’s eye follows that motion rather than watching for the edit point, so the cut essentially hides itself. This technique, called cutting on action, is one of the fastest ways to make a sequence of static shots feel like continuous, flowing footage.
J-cuts and L-cuts solve a related but different problem: dialogue that feels chopped up. In a J-cut, the audio from the next shot starts before its picture appears you hear a voice before you see who’s speaking. An L-cut does the opposite: audio from the current shot continues after the picture has changed. Both let sound bridge across a cut, which is what real conversations actually feel like; nobody’s brain processes dialogue in strict, synchronized chunks.
Editors who skip these techniques often end up with technically correct cuts that still feel mechanical, because the audio snaps exactly when the picture does and that unnatural precision is what viewers register as “amateur,” even if they can’t name why.
Mostly cut but understanding what a transition communicates changes when the occasional dissolve is the right call. A straight cut tells the viewer, without needing to say it, that we’re still in the same place and the same moment. A crossfade or dissolve does the opposite: it signals that time has passed, or the location has changed, or both.
This is why a dissolve between two shots of the same person walking the same path reads as “time skipped forward,” while a dissolve from someone outside a house to someone inside an office reads as both a location and time jump.
Once you see transitions as communication rather than decoration, the appeal of flashy spin transitions and light-leak wipes fades pretty quickly most don’t actually communicate anything; they’re visual noise between cuts. That doesn’t mean they’re always wrong: fast-paced social content built around energy and rhythm genuinely benefits from more aggressive transitions. The mistake is using them as a default instead of a deliberate choice.
Because color grading isn’t one step it’s two, and skipping the first one is where most beginner edits go wrong. Color correction fixes technical problems: white balance that’s slightly off, exposure that’s too flat, footage shot on different cameras that doesn’t match. Color grading is the creative layer applied afterward, and it only works well once correction is already done.
Shooting in a flat log profile, when your camera supports it, gives you far more room to work with in the grade because it preserves more dynamic range. From there, a LUT is a reasonable starting point rather than a finished look the real work is fine-tuning exposure, contrast, and saturation shot by shot so clips from different angles, times of day, or cameras all feel like they belong in the same scene.
A video with a subtle, slightly imperfect grade that’s consistent across every clip will always look more professional than one with a striking grade that shifts noticeably between shots.
Because viewers process bad audio consciously and bad video subconsciously. Most people can’t articulate what’s wrong with slightly flat color grading, but everyone notices when dialogue is hard to understand or background hiss is distracting.
| Technique | What It Fixes |
|---|---|
| EQ | Removes muddy low-end frequencies, boosts the range where speech clarity lives |
| Compression | Evens out natural volume swings so a sentence doesn’t start quiet and end loud |
| Noise reduction | Handles hiss or hum from air conditioning or electrical interference |
| Ducking | Automatically lowers music under dialogue to keep a voiceover intelligible |
A rough attempt at all four of these fixes will sound better than a polished attempt at none of them which is usually what separates edited-but-untreated audio from a genuinely finished mix.
They help when they’re subtle enough that the viewer doesn’t consciously register them, and hurt the moment they become the point of the shot instead of a supporting detail. Keyframes let you animate almost any property over time position, scale, opacity, volume by setting values at two or more points and letting the software fill in the motion between them. Used for a slow, barely perceptible zoom during a key line of dialogue, they add polish. Used for a dramatic swooping animation on every clip, they turn the edit into a demo reel for the software.
The same logic applies to masking (isolating part of the frame so an effect only touches that area) and motion tracking (locking a graphic or blur onto something moving). Speed ramping the smooth shift between slow motion and normal speed within a clip follows the same rule: genuinely effective for emphasizing one moment, a tired gimmick the moment it shows up in every cut.
| Setting | Common Choices | Why It Matters |
|---|---|---|
| Resolution | 1080p, 4K | 4K gives you room to crop or reframe in post without losing quality |
| Frame rate | 24fps, 30–60fps | 24fps reads as cinematic; 30–60fps feels smoother, better suited to sports or fast motion |
| Codec | H.264, H.265 (HEVC) | H.264 remains the safest, most universally compatible choice |
| Aspect ratio | 16:9, 9:16, 1:1 | Has to match the platform — horizontal for YouTube, vertical for Reels and TikTok |
Getting this wrong doesn’t just mean a lower-quality upload it often means re-exporting an entire project because one setting was mismatched to the platform. A short test export, checked before committing to the full render, avoids that entirely.
No. YouTube rewards patience horizontal framing and pacing that can breathe a little more, because the algorithm weighs total watch time rather than just the first few seconds. That said, the first five to fifteen seconds still decide whether someone stays at all. Pattern interrupts a B-roll cut, a zoom, a quick text callout every twenty to thirty seconds keep attention from drifting on longer uploads.
Reels and TikTok invert almost every one of those assumptions. Vertical framing is non-negotiable, the hook needs to land within the first second, and captions stop being optional because a large share of the audience is scrolling with sound off. An edit built for YouTube’s slower burn will feel sluggish the moment it’s dropped into a feed built around instant decisions.
Yes and that capability is exactly what causes most mobile editing mistakes. CapCut puts keyframes, speed ramps, and layered effects one tap away, which is genuinely impressive for a phone app, but it also means beginners reach for all of them at once simply because nothing is stopping them.
A few habits matter more than people expect: cleaning audio with the app’s built-in enhancement tools before layering in music; keeping captions inside the safe zone so they don’t get cropped by TikTok, Reels, or Shorts interface elements; and proofreading auto-generated captions before publishing, since they frequently misread names or background noise.
They can replace some of the work around editing, but not the editing judgment itself. Tools that generate or extend video clips are genuinely useful when you need B-roll you couldn’t otherwise shoot. AI image tools handle thumbnail concepts and stylized overlays well, and AI writing tools are useful for scripting before you ever open a timeline.
What none of them do is make pacing decisions, judge whether a cut feels natural, or mix audio so dialogue sits cleanly under music. Those decisions still require someone sitting at a timeline, watching the footage, and making a call.
Over-editing and it’s almost always driven by insecurity about the footage rather than confidence in it. When an editor isn’t sure a cut is working, the instinct is often to add something: another transition, another animated text element, another effect. In practice, this usually makes the problem worse, because it draws attention to the exact spot the editor was trying to smooth over.
Ignoring audio until the final pass causes similar damage, just less visible while you’re working. Hours go into color grading and effects, and the mix gets bolted on at the end almost as an afterthought. Fixing it is less about learning new audio techniques and more about changing when you address audio in your workflow earlier, not last.
None of the individual techniques in this guide are complicated on their own: cutting on action, using a compressor, matching color across clips.
What separates strong editing from average editing is applying them consistently, in the right order, without skipping the unglamorous parts like organizing footage or fixing audio early.
Pick one section of this guide, apply it deliberately on your next project, and the difference will be more noticeable than adding five new effects ever would
Cutting for pacing rather than just trimming clips to length. Almost every other technique B-roll placement, transitions, audio timing exists to support pacing, so it’s the foundation everything else builds on.
Usually because of audio, not visuals. Viewers are far more forgiving of imperfect footage than they are of unclear dialogue or an unbalanced mix.
Enough to know your video’s core message and roughly what shots support it. A full script isn’t necessary, but shooting without any plan almost always creates more editing work later.
Generally, yes. Professional edits use effects sparingly and with clear intent, while beginner edits often stack multiple effects on the same clip simply because the tools are easy to access.
Yes. Framing, pacing, and how quickly you need to hook the viewer all differ significantly between a longer-form platform like YouTube and short, vertical, sound-off feeds like Reels and TikTok.

outreach@upvisible.com