
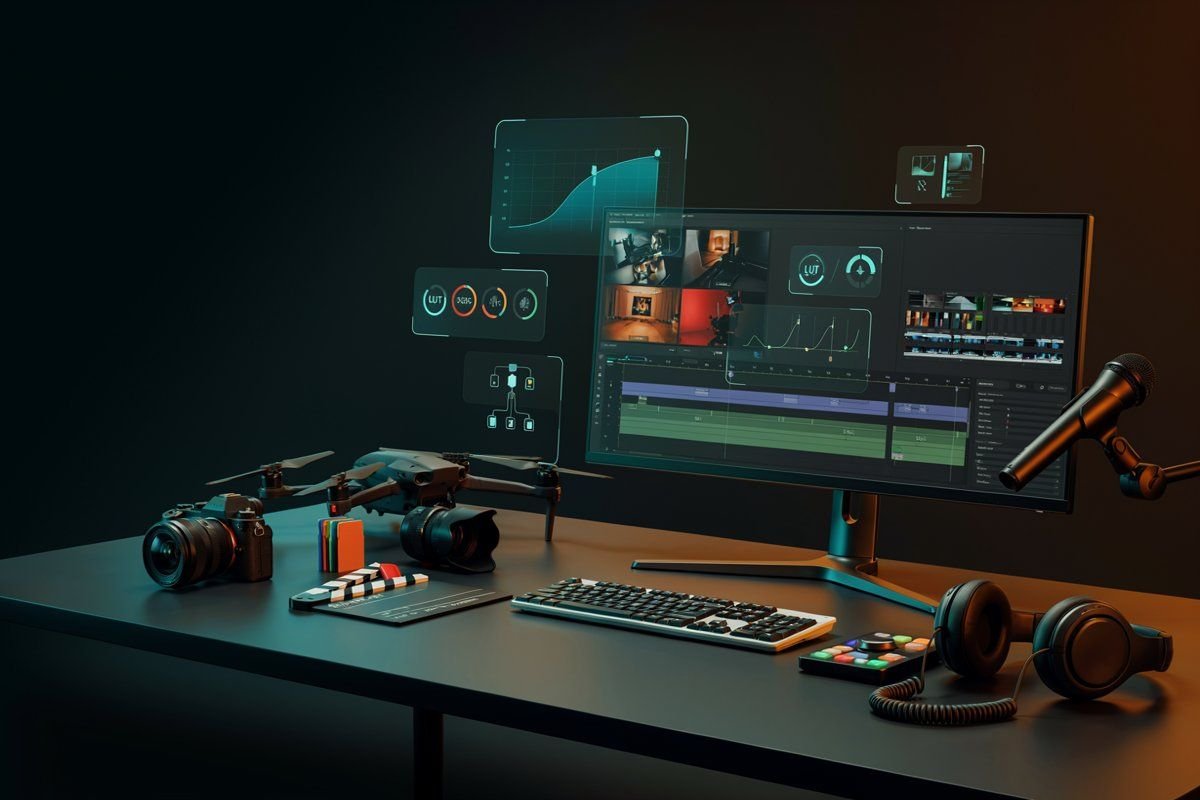
The most important video editing tips and tricks are: plan your story before you shoot, capture more footage and audio than you think you need, cut on action instead of on stillness, balance jump cuts with B-roll, keep background music under dialogue with audio ducking, color-correct before you color-grade, and always export using the resolution, frame rate, and bitrate your target platform recommends.
Beginners improve fastest by mastering five core skills first: trimming, transitions, color correction, audio balancing, and captions; everything else is a creative layer on top of those fundamentals.
Why Most Video Editing Tips Lists Fall Short
Search for this topic, and you’ll find dozens of listicles built around one editing app, padded with generic advice like “use good lighting.” That’s not wrong; it’s just incomplete.
This guide is software-agnostic first (the techniques work in CapCut, Premiere Pro, DaVinci Resolve, Final Cut Pro, Canva, or iMovie), then gives app-specific shortcuts where they matter.
It also covers the areas most guides skip: exact export settings, mobile editing, music-video-specific pacing, and the mistakes that quietly ruin otherwise good footage.
Part 1: Video Editing Tips and Tricks for Beginners (Pre-Production)
Good editing starts before you ever open your timeline.
Write a One-Line Story Before You Shoot
Every clip should serve a beginning, middle, and end. A simple outline, even three bullet points, saves hours in the edit because you’ll shoot with a purpose instead of hoping you can “fix it in post.”
Shoot More Coverage Than Feels Necessary
Capture wide, medium, and close-up angles of the same action. Editors call this “coverage,” and it’s what lets you cut between shots instead of being stuck with one static angle for an entire scene.
Record Clean Audio Separately When Possible
A shotgun or lavalier mic beats a built-in camera mic almost every time. Bad audio is harder to fix in post than bad video; viewers tolerate mediocre visuals far more than they tolerate hard-to-hear dialogue.
Leave Framing Room for Reframing Later
Shoot slightly wider than your final composition. It gives you room to crop, stabilize, or zoom in post without losing resolution.
Organize and Rename Files Immediately
Rename clips by scene and take right after shooting (e.g., S01_Interview_Take02), and sort them into dated folders. This single habit removes most of the time beginners waste searching for footage.
Back Up Footage in Two Places
Follow the 3-2-1 rule where practical: at least two copies on different devices, one of them off-site or in the cloud. Losing raw footage is the most common irreversible mistake in video production.
Part 2: Core Editing Tips and Tricks (The Cut)
This is the stage most “video editing tips and tricks” searches are really about.
Build a Rough Cut Before Refining Anything
Assemble your clips in order first, without worrying about transitions or color. Structure problems are easier to fix before you’ve polished individual shots.
Cut on Action, Not on Stillness
Switch shots at the moment of movement: a hand reaching, a door opening, a step forward. The eye is distracted by motion, which hides the cut and makes it feel invisible.
Use Jump Cuts Sparingly and Support Them With B-Roll
A jump cut (cutting within the same shot, removing time) is powerful for talking-head content but feels jarring back-to-back. Cut away to B-roll every few jump cuts to reset the viewer’s eye.
Learn J-Cuts and L-Cuts
A J-cut lets the next scene’s audio start before its picture. An L-cut lets the current scene’s audio continue after the picture has cut away. Both make dialogue-heavy edits feel natural instead of robotic.
Trim Silence and Filler Words
Dead air and “ums” kill pacing. Most modern editors (CapCut, Premiere Pro, DaVinci Resolve, Filmora) have automatic silence-detection tools; use them as a first pass, then fine-tune manually.
Match Cuts for Visual Continuity
A match cut connects two shots through similar shape, motion, or composition (e.g., a spinning wheel cutting to a spinning fan). It’s a small trick that makes transitions feel intentional and cinematic.
Zoom Into Your Timeline for Frame-Accurate Trims
Most beginner cuts feel “off” simply because they’re a few frames early or late. Zoom in on the timeline and trim to the exact frame where the action or word begins.
Use Proxy Editing for Large 4K/8K Files
If your timeline is stuttering, edit with lower-resolution proxy files, then relink to full-resolution footage on export. This is standard practice in professional workflows and dramatically speeds up editing on modest hardware.
Part 3: Color Correction and Grading Tips
Fix Exposure and White Balance Before Anything Else
Color correction (fixing exposure, white balance, and contrast so footage looks natural) always comes before color grading (stylizing the look). Grading over uncorrected footage exaggerates every flaw.
Use Scopes, Not Just Your Eyes
Waveforms and vectorscopes show you objective brightness and color values; monitors and screens lie depending on their calibration. Professional colorists rely on scopes precisely because eyes adapt and mislead.
Keep a Consistent Look With LUTs
A LUT (Look-Up Table) applies a preset color transformation across your footage. They’re a fast way to get a consistent cinematic tone, but treat them as a starting point; footage shot in different lighting still needs individual correction first.
Don’t Oversaturate
High saturation looks striking in a single frame but exhausting across a full video. If a shot looks “too good to be real” on your monitor, it probably is; dial it back 10–15%.
Grade for Story, Not Just Style
Warm tones read as comfort or nostalgia; cool tones read as tension or distance. Choose your grade based on what the scene needs to communicate, not just what looks trendy.
Part 4: Audio Editing Tips and Tricks
Audio is the most underrated half of Video Editing Tips and Tricks, and the fastest way to make an edit feel “professional.”
Apply Audio Ducking to Balance Music and Dialogue
Automatically (or manually) lower background music by 8–12 dB whenever dialogue plays, then bring it back up in the gaps. This single trick fixes most amateur-sounding audio mixes.
Use a Noise Gate and EQ, Not Just Volume Sliders
A noise gate cuts out low-level background hum between spoken lines. A basic EQ pass trimming muddy low frequencies below 80–100 Hz and taming harsh 2–5 kHz peaks makes voice tracks noticeably clearer.
Sync Multi-Camera and External Audio With Waveforms
Match audio waveform spikes (like a clap) across camera angles instead of eyeballing timecodes. Most editors also offer auto-sync tools that align clips by their audio automatically.
Match Music to Your Cutting Rhythm
Tap along to the beat and place your cuts on the downbeats. This is the core trick behind “satisfying” edits, from wedding highlight reels to fast-paced music videos.
Use Royalty-Free Music and Check Licensing Terms
Platforms like YouTube and TikTok will mute or claim videos with unlicensed music. Use royalty-free libraries or platform-provided sound libraries, and always confirm the license covers your intended use (commercial vs. personal).
Part 5: Creative Video Editing Tips and Tricks Techniques
Use Transitions to Support Mood, Not Distract From It
A hard cut is a transition too, and it’s usually the right choice. Save wipes, zooms, and flashy effects for moments that genuinely call for a tonal shift.
Speed Ramp for Emphasis
Gradually slowing down or speeding up within a single clip draws attention to a specific moment a reveal, an impact, a punchline. Keep the ramp smooth; sudden speed jumps look like a glitch rather than a choice.
Use Slow Motion Intentionally
Slow motion works best on movement-heavy shots captured at a higher frame rate (60fps+) specifically for that purpose. Slowing down footage shot at 24-30fps causes stutter; plan for it during filming, not just editing.
Layer Clips With Picture-in-Picture or Overlays
Useful for reaction content, tutorials, and split narratives. Keep the overlay clip small enough that it doesn’t compete with the main frame for attention.
Try Split Screen for Parallel Storytelling
Effective when you need to show two perspectives happening at once: a conversation, a before/after, or two locations in the same timeline.
Use Chroma Key (Green Screen) With Even Lighting
Chroma key only looks clean when the green background is evenly lit with no shadows or wrinkles. Uneven lighting is the #1 reason green screen footage looks fake, not the software.
Add Motion Graphics and Titles for Retention
Simple animated text, lower thirds, or callouts keep viewers engaged, especially in tutorial or explainer content. Keep fonts legible and on-screen for at least 2-3 seconds so viewers can actually read them.
Apply the Rule of Thirds When Reframing
When cropping or repositioning a shot (especially for vertical formats), keep the subject’s eyes near the upper third gridline rather than dead center; it reads as more natural and cinematic.
Part 6: CapCut-Specific Tips
- Use Auto Captions, then edit for accuracy: CapCut’s speech-to-text is fast but not perfect; always proofread before publishing.
- Keyframe animation on the Adjustment layer lets you animate zoom, position, and opacity without duplicating clips, useful for mobile-shot vertical content.
- Use the Beat Sync feature to auto-detect the beat in your music track and snap cuts to it, especially useful for CapCut mobile users making short-form content.
- Apply the “Match” tool for match cuts between two clips with a similar subject or shape, a fast way to replicate professional match-cut transitions on mobile.
- Export at the platform-native resolution (1080×1920 for TikTok/Reels, 1080×1080 for square) rather than letting CapCut default to your recording resolution.
Canva Video Editing Tips and Tricks
- Use Brand Kit to lock in fonts and colors across every video so your channel looks consistent without manual adjustment each time.
- Canva’s timeline-based Magic Switch and auto-resize can adapt one edit into multiple aspect ratios (16:9, 9:16, 1:1), a major time-saver if you’re repurposing one video across platforms.
- Use position animations on text layers instead of static titles; Canva’s built-in presets are subtle enough not to look templated if used sparingly.
- For voiceovers, use Canva’s built-in Text to Speech or record directly in-app to avoid switching tools mid-project.
Part 7: Mobile Video Editing Tips and Tricks
- Edit in landscape orientation on your phone; even for vertical videos, it gives you more visible timeline space and precision.
- Use pinch-to-zoom on the timeline before trimming; mobile screens make frame-accurate cuts hard without zooming in first.
- Export over Wi-Fi, not mobile data, for large 4K vertical exports to avoid failed or corrupted renders.
- Turn off battery saver mode while exporting; many phones throttle render speed and can cause exports to fail midway on longer videos.
- Shoot vertically from the start if the final output is for TikTok, Reels, or Shorts. Reframing landscape footage to vertical in post loses resolution and can cut off important parts of the frame.
Part 8: Music Video Editing Tips and Tricks
- Cut to the beat, not just near it. Even a two-frame offset from the beat is perceptible and feels sloppy.
- Vary your cutting rhythm with the song’s structure: slower cuts in verses, faster cuts in choruses or drops, to mirror the song’s energy.
- Sync lip movements precisely if there’s performance footage; audiences notice lip-sync drift faster than almost any other editing error.
- Use color grading to separate sections (e.g., cooler tones for verses, warmer or higher-contrast tones for the chorus) to visually reinforce the song’s structure.
Part 9: Export Settings: The Part Most Guides Skip
| Platform | Resolution | Aspect Ratio | Frame Rate | Recommended Bitrate |
| YouTube (standard) | 1920×1080 (or 3840×2160 for 4K) | 16:9 | Match source (24/30/60fps) | 8–12 Mbps (1080p), 35–45 Mbps (4K) |
| YouTube Shorts / Reels / TikTok | 1080×1920 | 9:16 | 30 or 60fps | 8–10 Mbps |
| Instagram Feed | 1080×1080 or 1080×1350 | 1:1 or 4:5 | 30fps | 5–8 Mbps |
| General archival/master file | Native shooting resolution | Native | Native | Highest available (ProRes/DNxHR) |
Additional export tips:
- Codec: H.264 (MP4) is the universal safe choice for uploading. Use ProRes or DNxHR only for master files you’ll edit again later.
- Match your frame rate to your footage. Converting 24fps footage to 30fps on export introduces stutter at the frame rate you shot in.
- Always preview the exported file, not just the timeline, before publishing; compression can introduce artifacts that aren’t visible in the editor.
Part 10: Video Editing Tips and Tricks for YouTube and Social Media Growth
- Hook viewers in the first 3–5 seconds, not the first 10; attention spans on social platforms have shortened further than most guides account for.
- Add captions even for videos with sound, since a large share of viewers watch muted by default.
- Design thumbnails with 3–5 words max, and high-contrast thumbnails are usually viewed at a small size where dense text is unreadable.
- Write descriptions with your target keyword in the first sentence, since many platforms only display the first line before “show more.”
- End with a specific call-to-action (“watch this next” with an on-screen link) rather than a generic “like and subscribe,” which converts poorly.
Common Video Editing Mistakes to Avoid
- Overusing transitions. If a viewer notices the transition more than the cut itself, it’s too much.
- Skipping the audio pass. Visuals get all the attention in editing, but bad audio is the #1 reason viewers click away.
- Grading before correcting. Applying a LUT or filter to poorly exposed footage locks in the problem instead of fixing it.
- Ignoring platform-native export specs and letting the software choose default settings, which often aren’t optimized for where the video will actually be published.
- Not watching the full export before publishing. Rendering errors, audio drift, and dropped frames are far more common than editors expect.
- Editing without a backup. Losing hours of work to a crash is preventable with basic project auto-save and cloud backup habits.
Video Editing Tips and Tricks Software Comparison (Neutral Overview)
| Software | Best For | Learning Curve | Platform |
| CapCut | Short-form/mobile content, beginners | Low | Mobile, Desktop, Web |
| Canva | Marketing videos, social templates | Low | Web, Desktop |
| iMovie | Basic edits, Apple ecosystem beginners | Low | Mac/iOS |
| DaVinci Resolve | Color grading, professional workflows | High | Windows, Mac, Linux |
| Adobe Premiere Pro | Industry-standard, collaborative teams | Medium-High | Windows, Mac |
| Final Cut Pro | Fast rendering, Mac-based professionals | Medium | Mac |
Printable Video Editing Tips and Tricks Checklist
- Story/outline confirmed before shooting
- Footage organized and backed up
- Rough cut assembled and reviewed for pacing
- Cuts trimmed to the frame (no dead air, no early/late cuts)
- Color corrected, then graded
- Audio levels balanced, music ducked under dialogue
- Captions added and proofread
- Exported at platform-correct resolution, frame rate, and bitrate
- Full export previewed before publishing
Conclusion
Good Video Editing Tips and Tricks is less about knowing every effect and more about sequencing the right steps: plan, organize, cut for pacing, correct before grading, balance audio, and export correctly for your platform.
Whether you’re using CapCut on your phone or Premiere Pro on a workstation, the same principles apply; the software just changes how fast you can execute them.
FAQs
What are the best video editing tips and tricks for beginners?
Start with the fundamentals in this order: organize your footage, trim for pacing, balance your audio, apply basic color correction, and add captions. Master these five before moving into speed ramping, overlays, or advanced color grading.
What are some good Video Editing Tips and Tricks hacks?
Use silence-detection tools to auto-trim dead air, apply audio ducking instead of manually riding volume levels, use proxy files for smoother editing on large 4K footage, and batch-apply color presets across clips shot in the same lighting to save time.
What are Video Editing Tips and Tricks best practices?
Correct color before grading, cut on action rather than stillness, keep background music below dialogue, back up footage in at least two locations, and always preview your final export before publishing rather than trusting the timeline preview.
How do I make good edits on CapCut mobile?
Edit in landscape mode for more timeline precision, use the Beat Sync tool to auto-align cuts to music, keyframe your adjustment layer for smooth zooms instead of duplicating clips, and export at your platform’s native resolution (1080×1920 for TikTok/Reels) instead of the app’s default.
Is there a video editing tips and tricks PDF or checklist I can use?
The printable checklist above covers the core pre-export steps. Save or screenshot that section, or copy it into a notes app, to use as a repeatable workflow checklist for every project.
What should I avoid when editing videos?
Avoid stacking too many transitions, skipping the audio balancing pass, grading footage before correcting exposure and white balance, and exporting without previewing the final file. These are the most common reasons an otherwise well-shot video looks amateurish.